Foliage Wreath Tutorial
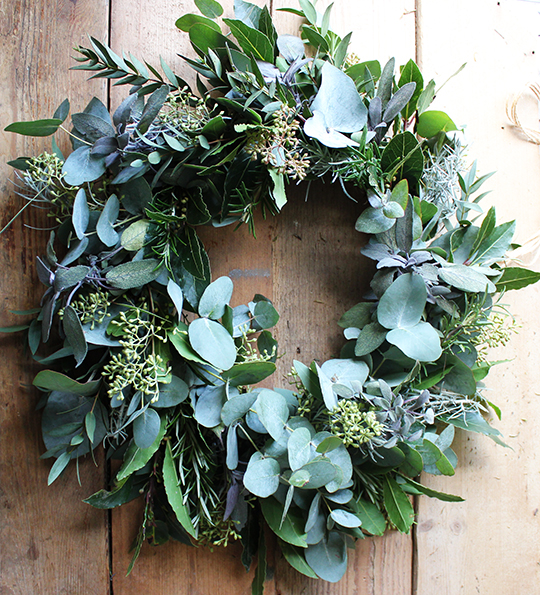
Yay, I'm back again with another floral tutorial in collaboration with lovely Caroline from Wild Rubus! This is definitely my favourite blog column, and I am already looking forward to next months. If you missed it in October, each month Caroline and I will be collaborating on a floral based tutorial, with Caroline as the teacher, and me as the student (post author and photographer). The finished wreath pictured below is my attempt, just to prove that should you fancy having a try, it is possible to create something yourself at home. We hope that with me writing the tutorial as a novice, then it should be relatively easy to follow and I'll also pass along any tips that helped me.
Once again, by just using foliage, we have tried to keep costs as low as possible, which should mean, if you choose to, then you can forage quite a bit yourself. Don't forget this is a guide, you don't have to use the same as us, just see what you can find!
You will need:
- Wire frame (you can even find these on Amazon)
- Reel wire, or any strong malleable wire
- Stub wire
- Scissors
- Secateurs
- Pliers
- Damp moss (you can buy this online or from your local florist)
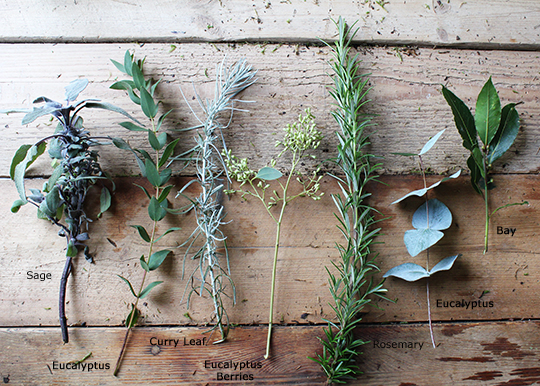
- A good selection of foliage (we used 3 x types of eucalyptus, bay, curry leaf, sage and rosemary)
- Ribbon or twine
1. Clean out any twigs or muddy bits from the moss.
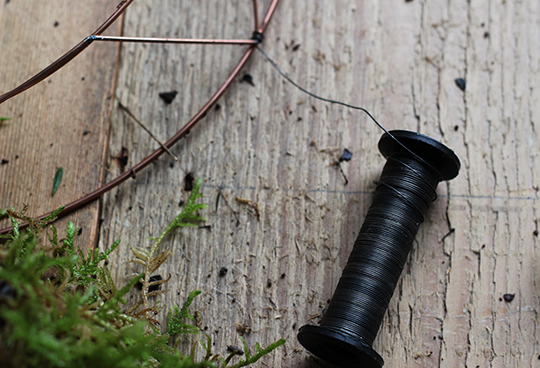
2. Attach the reel wire to your frame, by wrapping it around the edge a few times.
3. Grab a large handful of moss and pack it as firmly as possible against the frame, so it feels solid and dense, then as tightly as you can, wrap the reel wire around the frame and moss to hold it in place.
4. Continue this all the way along the frame, until it is completely covered in moss. Then to ensure the moss is firmly held in place, wrap the wire once more, spaced about 2.5 cm apart around the entirety of the frame.
5. Snip the wire from the reel, leaving about 10 cm, push it into the moss and wrap it around the edge of the frame, to hold it in place. Make sure it is tightly wrapped, use pliers if necessary.
6. Give the moss a bit of a haircut to neaten it up.
7. Snip the foliage down to lengths of between approximately 15 and 20 cm, thinking carefully about where you snip it, to get the most from each branch. Then gather little bunches of foliage together, you can either group like with like, or mix them up a bit, depending on the look you want.
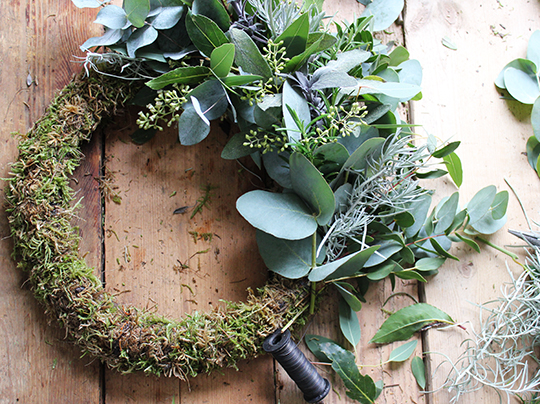
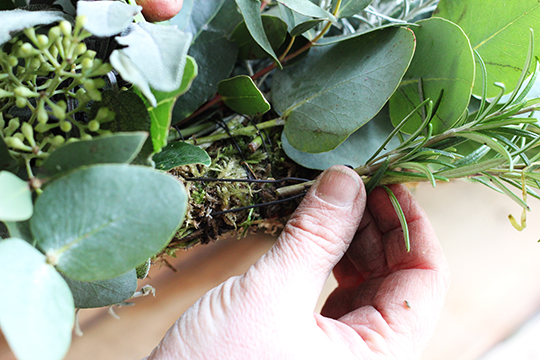
8. Feed the reel wire back through the frame and once more, wrap it around the frame edge to secure, then lie your first bunch of foliage on the moss ring and wrap the wire around the bunch and frame, as close to the neck of the foliage as possible to hold in place. Once again, wrap as tightly as you can, and repeat a couple of times.
9. Make up another bunch and lay it so it covers the stems of the previous bunch, wire over the stems as before.
10. Continue in this way, until the whole ring is covered in foliage, making sure you cover the inner and outer edge.
11. Finish by snipping and wrapping the wire around the edge of the frame again a couple of times, and pushing the end into the moss.
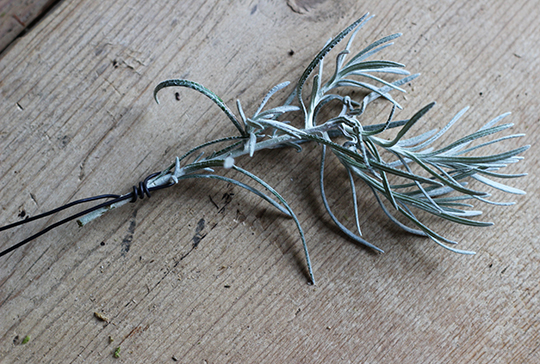
12. Once you have covered the ring, fill in any gaps, by making up little posies or individual stems; wrap a piece of stub wire really tightly around the stem/s, leaving two ends about 5 cm long to make a prong to push in the moss ring.
13. Push the wire prong in the moss as hard as you can at a right angle, you can then bend the wire to get the foliage to sit in the position you would like it.
14. To finish, add ribbon or twine by folding a long enough piece to hang on your door in half, loop it around the ring, and then thread back through itself.
Hints & Tips:
- This is a pretty messy job, be prepared to get your hands and the floor dirty!
- Be aware that wrapping the wire is tough on your hands.
- The moss must be packed very tightly, I struggled with this to start with.
- Using pliers does help, you can give everything an extra twist to ensure it is secure.
- If you find it easier, you can add single stems at a time rather than little bunches.
You may have spotted the wreath in yesterday's Styling the Seasons post, I couldn't resist using it, before I hang it on my front door next week.
I hope you enjoyed the tutorial, I would love to see pictures should you have a go yourself. If you pop over to Caroline's blog, you can read all about the beautiful foliage we used, and get to see her finished wreath too.
Have a good week.
Emma x

