Bulbs & Bottles Tutorial
Caroline from Wild Rubus and I made a right mess for this month's floral tutorial, but boy do I love the results! A simple idea which feels perfect for January, a time for fresh starts and decluttering and of course the looking forward to Spring.

You will need:
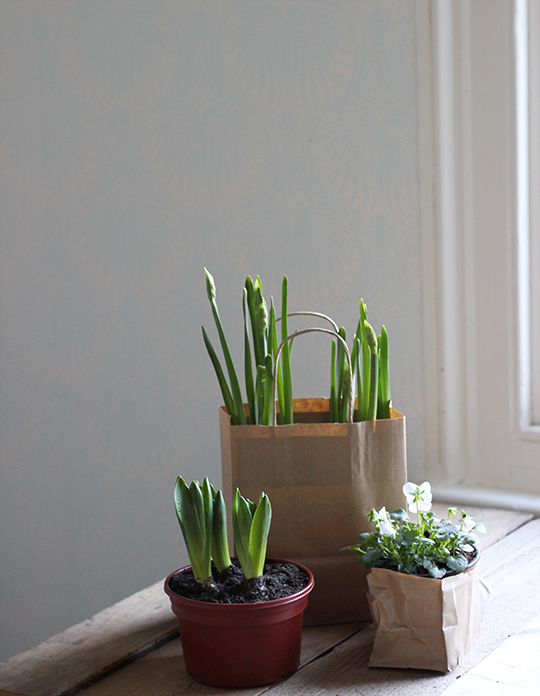
- A selection of flowering bulbs, we used paper-whites, and hyacinths
- A pansy or similar (you don't need to include a potted plant, but it just makes a good contrast)
- A selection of glass containers
- An apron probably isn't a bad idea too
1. Gather together a selection of glass vessels, they don't need to be fancy, old jam jars do nicely.
2. Give them a good wash.
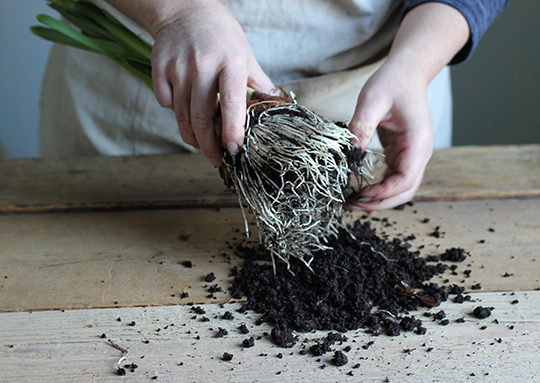
3. Ease the bulbs out of their containers, being careful not to damage the roots.
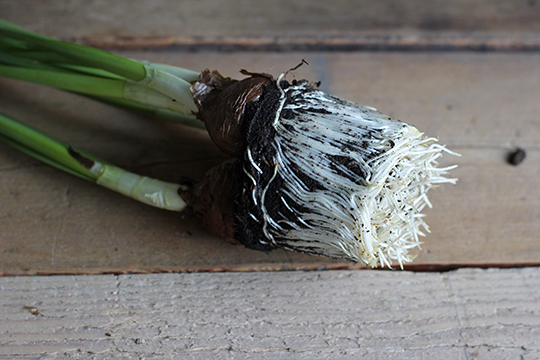
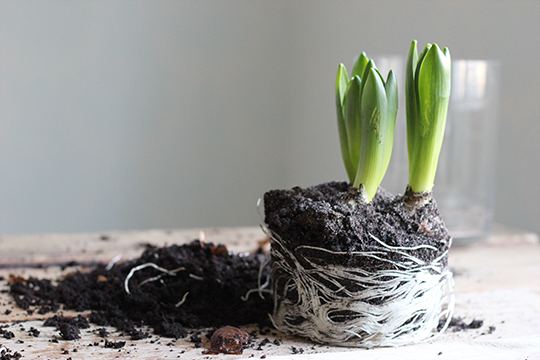
4. Very carefully start removing the soil from around the roots, try to keep the bulbs and their roots clustered together.
5. Remove as much of the soil as you possibly can.
6. Once you have removed the soil, you can very gently rinse the roots under the tap to remove any remaining bits of dirt.
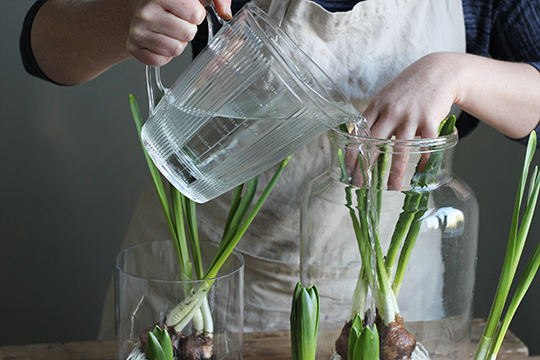
7. Carefully place the bulbs in a container.
8. Pour in some water, making sure you only cover the roots and the very bottom of the bulb.
9. Remove the pansy from its plastic pot.
10. Re-pot in another glass container.
Hints & Tips:
- The bulbs don't need soil for nutrients, but you do need to look after their water levels, keep them topped up and keep it clean.
- Be aware that if the container isn't tall enough to at least partially hold the stems, they may collapse slightly.
- You can use the soil removed from the roots if you need it for repotting the pansy.
I can't wait to see how they all look once everything is flowering! And don't forget to pop over to Caroline's blog, to see what she has to say about today's tutorial.
Have a good week.
Emma x
