Advent Calendar Tutorial
Well shock horror, a miracle has occurred. I have made my advent calendar already, and it is only the beginning of November! There isn't much point in writing a tutorial, if it doesn't give people the time to actually make the thing (a fact that seemed to escape me over the last couple of years). Once again, I have gone for simple, and no surprises, it is hung from a stick, perhaps I should give my advent calendars their own series; different things to hang from sticks. This year's was inspired by cheese, yes, I did say cheese. To be more specific, a rather beautiful photo, I spotted on my friend @owl_emma's beautiful instagram feed, way back in August. If you take a peek, you will see what I mean. I did have to adapt the idea slightly, because as much as I wanted to tie the fabric, it would have used so much, I thought it impractical. However, if you would prefer to tie rather than fasten with string, then give it a go.
So without further ado, although I'm not sure you actually need instructions for something so simple, but here they are anyway:
You will need:
one stick
approximately 1.5 metres of muslin or fabric of your choice (or more if you want to make larger pouches)
string
something to put inside (I used small chocolate balls)
foliage or whatever you wish to use to decorate your calendar, if anything
A4 piece of card or paper
compass and pencil
scissors
pins
Use the compass to draw a circle on the cardboard or paper approximately 20cm in diameter, and cut round it.
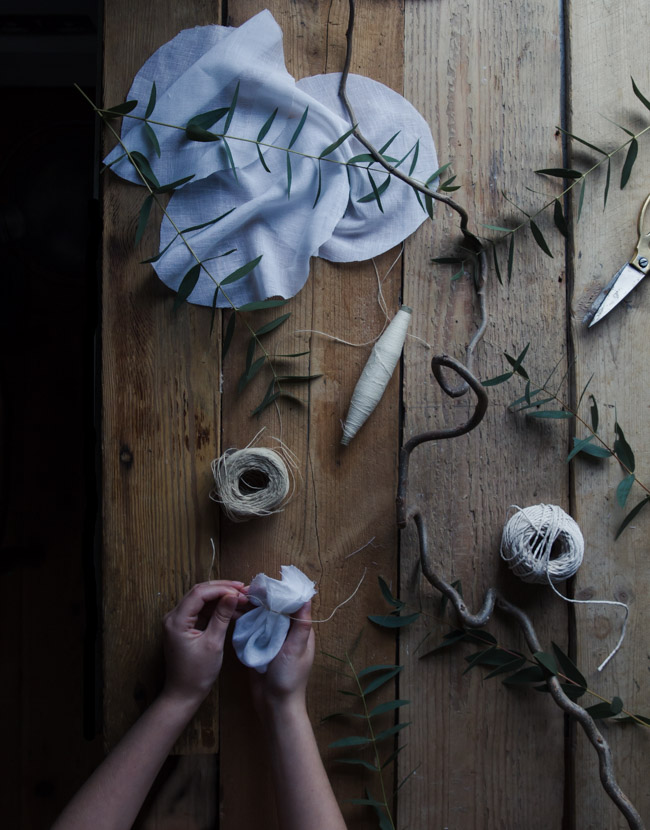
This paper circle then becomes the pattern to cut 24 fabric circles (or 25 if you would like to include Christmas Day) by pinning it to the fabric and cutting round it. I folded the fabric in order to cut more than one circle at once.
Once you have all your fabric circles, put a gift of your choosing in the centre of a circle, fold the edges together, and then tie a piece of string around the top. This string needs to be long enough to tie the fabric pouch to your stick, so make sure you use a good amount. I used different lengths because I wanted to have my pouches hanging at random heights, but if you prefer you can cut them all the same length.
Next, tie the other end of the string on to each pouch to your stick, until all the pouches are attached.
Then decorate however you like. I used eucalyptus because it dries well, which I attached in exactly the same way as the fabric pouches.
Finally hang on the wall.
The thing I like most about this design, is how individual it can be, not surprisingly I prefer a very simple style, but if you wanted, you could use coloured fabric, or adorn with other decorations to give a completely different look. As always, if you do make one, I'd love to see it.
Emma x


